
I always start out by doing the head protector. I tape it in place for gluing. Once I get the top panel glued, I will slip this inside the top panel.

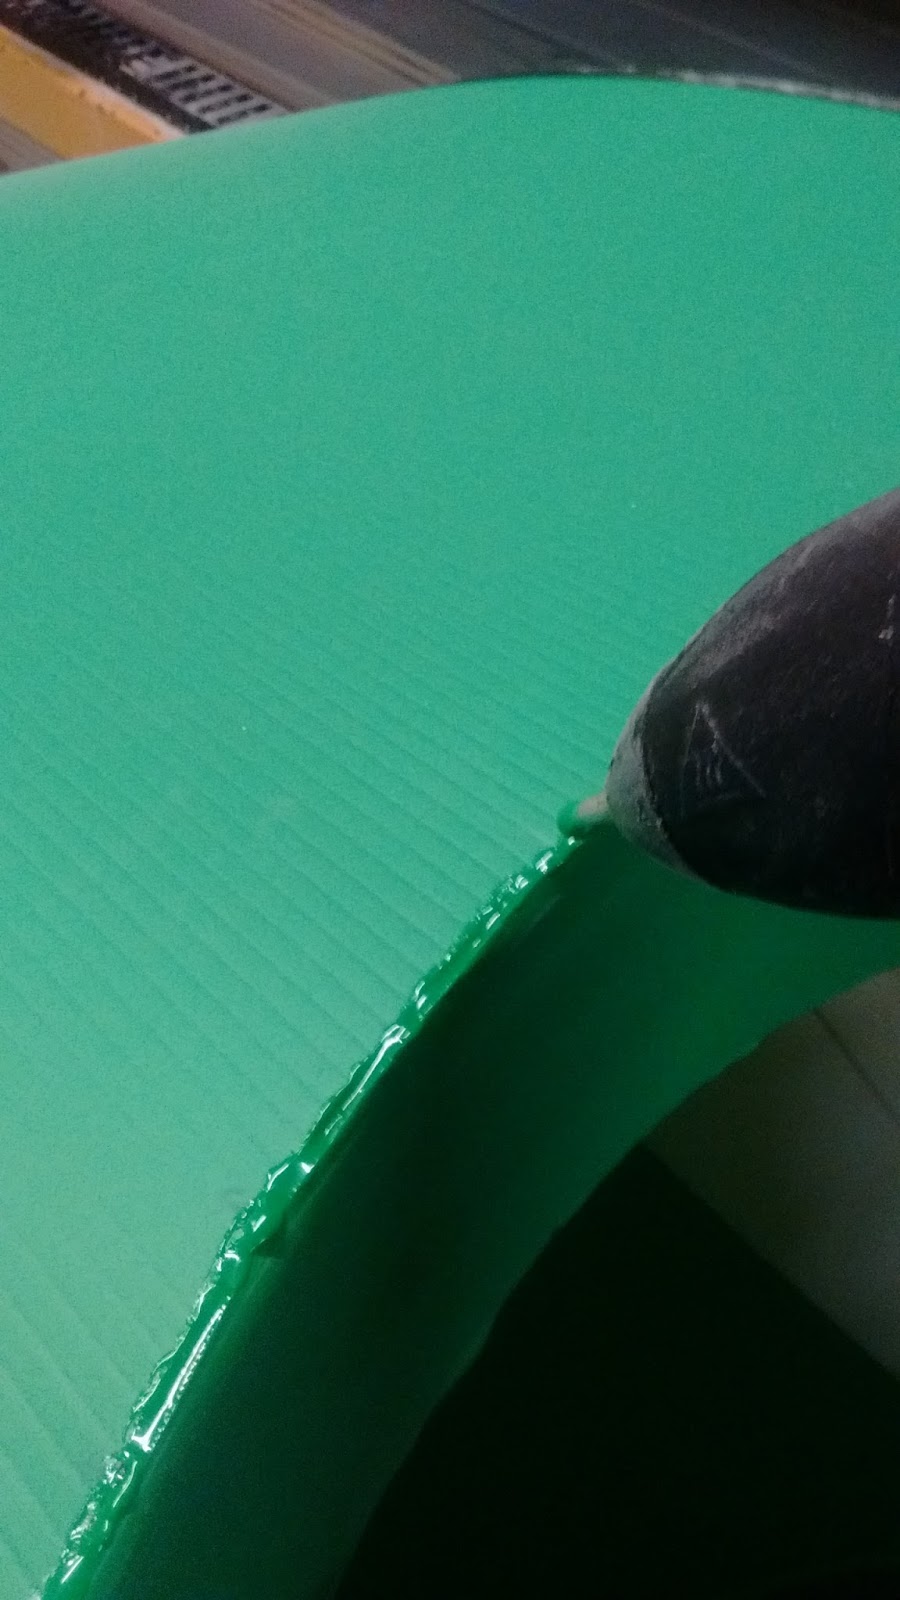
Adding the hot melt glue. One drop of glue every 1/2" to 1.00"

A small filler piece I needed to add to the end of the top panel. The top panel is about 4 inches longer than the coroplast sheet,

Stiffener for more rigid holding for the top wrap around parts.

Stiffener glued in. There is still enough flex for the coroplast to flex when connected to the lower green colored side panels.

I forgot to add this photo at the first of the build sequence. The small propane torch is used to quickly burn off the oil on the coroplast surface. The torch is barely on, because if its too hot the coroplast will melt. I had to practice a few times on scrap pieces of coroplast to do it right. But doing this pre treatment will make the hot melt glue that is added later so strong that the coroplast will rip before the glue does.

The top done. It has hot melt glue applied every 1/2". The head protecter is pushed into place then glued. This is one area where I will add some 1/2" wide duct tape.

The bottom panel with the frame members attached.

Close up view of the pop rivets.

Laying out the sides, before gluing.

A weak area that gets some inner support. Onece the bottom and top are attached it will be stronger.

Taping the bottom edge where the sides meet. The piece of coroplast that looks like a shark fin did not work out too well, so I eliminated it.

Finishing off the tail end of the bottom section.

Top stiffener. It goes just behind the head opening on the top panel. It is two pieces for extra strength.

Stiffener glued together then glued to the underside of the top panel.

Attaching the wheel wells. They will get glued on the inside edges.

Finishing up the top front part.

Lots of tape until the glue sets

Finished front part.

A side view of the taping process .

The next three photos shows the gluing process for the wheel wells. This hot melt green colored glue will not bond to coroplast. I use it in areas where I want to fill in the coroplast flutes.

A bit of colored hot melt glue for the nose area.

Cutting out the hatch. And getting it ready to add the coroplast pieces that will hold the hatch in place.

A close up of the hatch with the duct tape that covers the raw edge of the coroplast.
No comments:
Post a Comment